
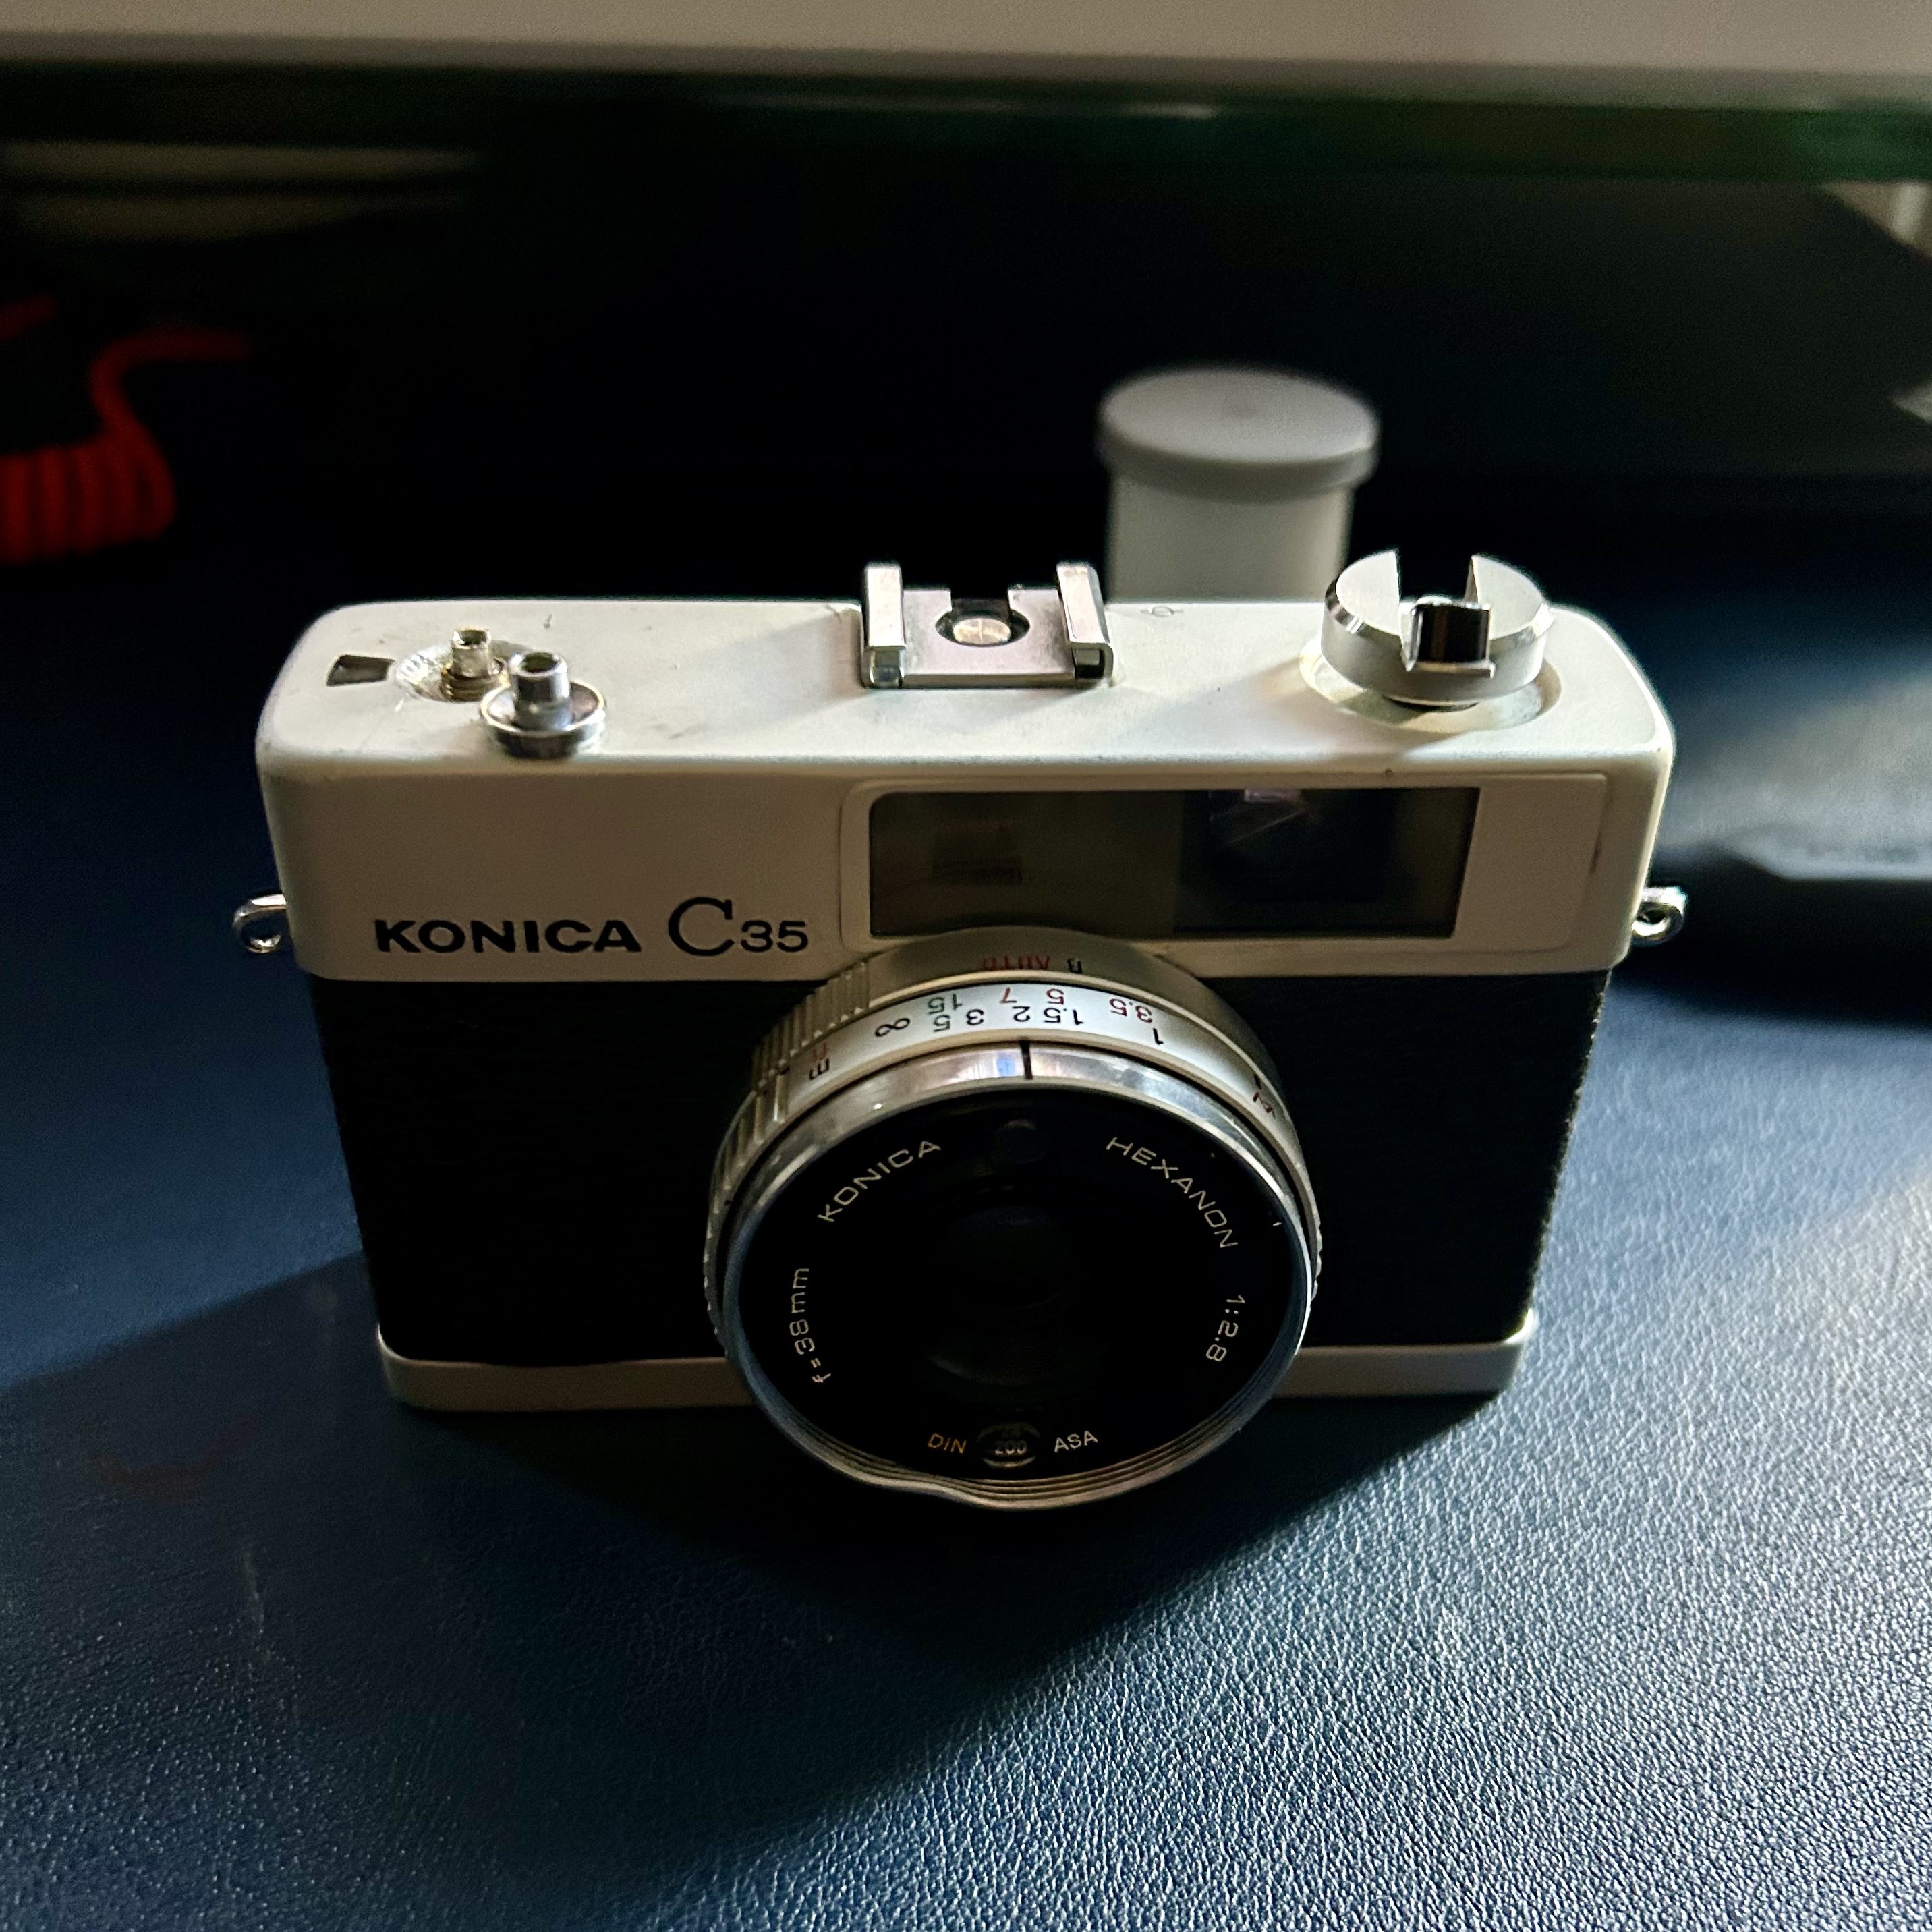
On a whim, I bought a Konica C35 for forty dollars while browsing old used cameras on eBay.
Bored with searching for a perfect SLR — which are easily found but not easily found for cheap — I decided to explore other options. In fact, SLRs deliver such immaculate images that I wanted something with more character. In a digital world, clarity is not that interesting. I’ve said this over and over, but that’s the appeal of something like a plastic toy camera: you’re not going to get a sharp, accurate photo, but you’re going to get something more evocative. Maybe. You might get crap.
The Konica C35 is a rangefinder. I didn’t even know what that meant.
Rangefinders are sort of like a bridge between point and shoots and SLRs. You have control over the focus, but the viewfinder does not look through the lens itself. So how do you focus if you are not actually looking through the lens?
Instead, rangefinders have a fascinating mechanism that helps you to focus on your subject. As you turn the lens on the camera and look through the viewfinder, a small overlayed image shifts left and right. When it’s aligned, that means your subject is in focus. The range has been found. It’s somewhat confusing in the abstract, but fairly simple in practice:

Anyway, that’s what the Konica C35 is. Rangefinders are also typically smaller and more compact than SLRs.
The camera felt like someone’s worn glove when it arrived. It was probably from an estate sale; it was already loaded with film and had an old, frayed neck strap still attached, along with the original instruction booklet. And it generally did seem to be in working order: the shutter fired and the light meter worked.
Upon closer inspection, though, the shutter fired slowly, in a sticky way, like its gears were gunked up with old oil and crud. But all the mechanics were working, at least. They just needed to be cleaned.
To start, I doused the shutter blades themselves in lighter fluid. (Lighter fluid, I learned, works as a solvent. And was the only thing I had.) It helped! But only a bit. Something in the shutter mechanism were also gunked up and needed cleaning too — somewhere inside the camera.
So I learned how to disassemble the camera from this Flickr photo set, and poured more lighter fluid inside like I was refilling a Zippo. It helped! But only a bit. I subsequently reassembled and disassembled the camera multiple times until the shutter more or less appeared to be firing easily.

But — but! — then the light meter stopped working. It wasn’t that surprising, though; a battery had been sitting in there for years and I could see the wiring was badly corroded. And when I pried a little more, the wires simply fell apart. So I bought a soldering iron. I’ve never used a soldering iron before but how hard could it be? Hot metal melts the other metal and you stick things together.
Though I didn’t really know what I was doing, I had already accepted that the camera was likely a lost cause, so it was okay to Frankenstein it and try anything. Nothing to lose!
First, I took out the battery compartment and let it sit in vinegar to clear off the correded bits. I scrubbed off the weird lumps where the wires had been soldered on, but I think I might have made a mistake — I should have left those weird lumps, whatever type of metal they were, because when I tried to re-solder the wires to the bare metal, I could not get them to stick.
I watched hours of soldering tutorials, tried sanding the metal and adding flux, and I couldn’t get anything to work. I also melted the plastic battery compartment a bit. In doing this, the old wiring continued to fall apart until I didn’t have enough wiring to work with. I needed to tack on some new wiring just to have some slack.

But — but! — I didn’t have any wires on hand. I don’t do electronics projects. So what I did, rather than order 500 feet of wire on Amazon to obtain a few inches, was cut up some old headphones that needed to be repaired anyway and stripped out some wiring from the headphone cord.
(Terrible build quality on the Grado SR60E’s, by the way. That’s why they were so much cheaper than other Grados. But I do love their sound.)
I soldered the headphone wires to the old ones in the camera and then had more room to work while I tried to reattach the battery compartment. As a proof of concept, I held it all together with electrical tape and solder-singed fingers and confirmed that the light meter actually did work! — if I could find a permanent way to connect it. I still couldn’t get anything to solder to the battery contacts.
So, instead, I just physically wrapped the bare ends of the wires to the battery contacts Frankenstein-style. Not perfect, but working. The problem, then, was that the longer headphone wires no longer fit inside the camera body without rubbing against some of the moving pieces, rendering it all moot. But it was technically working!

Eventually I gave up on perfection, trimmed the wires a bit, and managed to cram enough of the wiring inside to close the body of the camera. (The above picture isn’t the final result. The battery is inside the camera again but I can’t screw the cap closed because of how I wired it. So the bottom of the camera is taped shut.)
Anyway, ANYWAY, that worked. Then I shot a roll of film. Notably only two shots had a slightly incorrect exposure and two shots were blank. 32 out of 36 was much better than expected, though. It works!
[2/10/2024 update: After shooting another roll, I think you can accidentally progress the film more than once for some reason. I had more blanks on the second roll because I couldn’t remember if I cocked the shutter.]
I tried some Reflx Labs 400 ISO cine film and really like the results. (“Cine” film means that it is 35mm motion picture film modified to work with normal film development, which gives it a unique look.):


Reflx Labs ships from China, by the way, but shipping it only takes about a week and it is cheaper than Cine Still.
There’s really not much to the experience of shooting with the Konica C35. The little overlayed image in the viewfinder is pretty tiny, or at least a bit difficult to see through my glasses. But the depth of field isn’t very shallow and almost everything I shoot is in the distance, anyway, so precise focus isn’t that important. Otherwise the exposure is completely automatic. That’s what the wiring was for.
After I finish another roll I might try to fix the camera more permanently, sans tape. Or maybe not. I’ll probably be interested in something else by then.

Leave a comment